Soldering a Printed Circuit Board is a tricky business and if the soldering is not done right then it can result in malfunctioning of the PCB and the device in which it is installed. Therefore, it is advised to also follow the standard practices of soldering a Printed Circuit Board in order to avoid future damage or malfunctioning of the devices.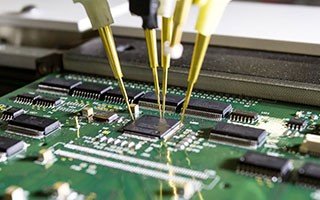
In this article, we will discuss the proper steps of soldering a Printed Circuit Board in order to help the readers to solder the circuits in a proper way. The steps of soldering a Printed Circuit Board are as follows:
What will you need?
There are a few things that you will require during the soldering process. Some of the essential items are as follows:
- Soldering Irons: A high-grade soldering iron is required, which can do a decent and smooth job.
- Solder Wick: It is another essential item required during the soldering process. It removes the extra solder, which is not required on the Printed Circuit Boards (PCBs).
- Solder Vacuum: Solder Vacuum is another item, which is required to ensure proper soldering

- Preparing for the Soldering ProcessAfter getting all the items ready, it is now time to prepare for the soldering process.

Some of the steps involved in this process are as follows:
- Warming up the Iron: You have to warm up the iron for some time before starting the soldering process. It will ensure the smooth soldering since the solder material will get melted quickly.
- Prepare the proper workspace: Having a proper workspace is important since you may drip solder during the process. Having more space will protect the Printed Circuit Board (PCB).

- Keep the Soldering tip clean: There should be no residue deposited at the tip of the soldering iron.
Soldering a Printed Circuit Board
The final steps involved in soldering of a Printed Circuit Board are as follows:
- Cleaning the Printed Circuit Board: Clean your circuit board so that there is no impurity present on the board.
- Preparing the Space: You should have a cleaned space for working as well as for soldering on the Printed Circuit Board.

- Placing the Components on the Printed Circuit Board: In this step, you have to place the components in the holes and vias of the Printed Circuit Board.
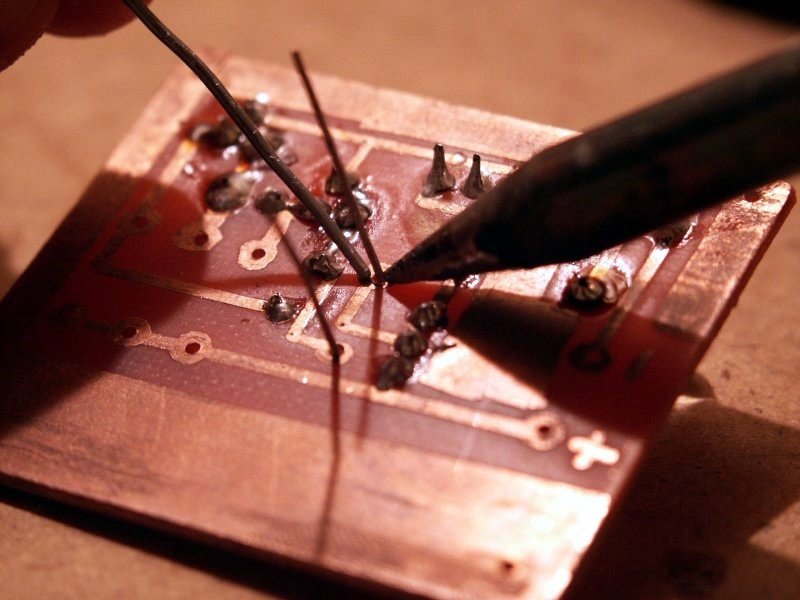
- Melting the copper material: With the help of the soldering iron, melt the material for applying on the designated area of the Printed Circuit Board.
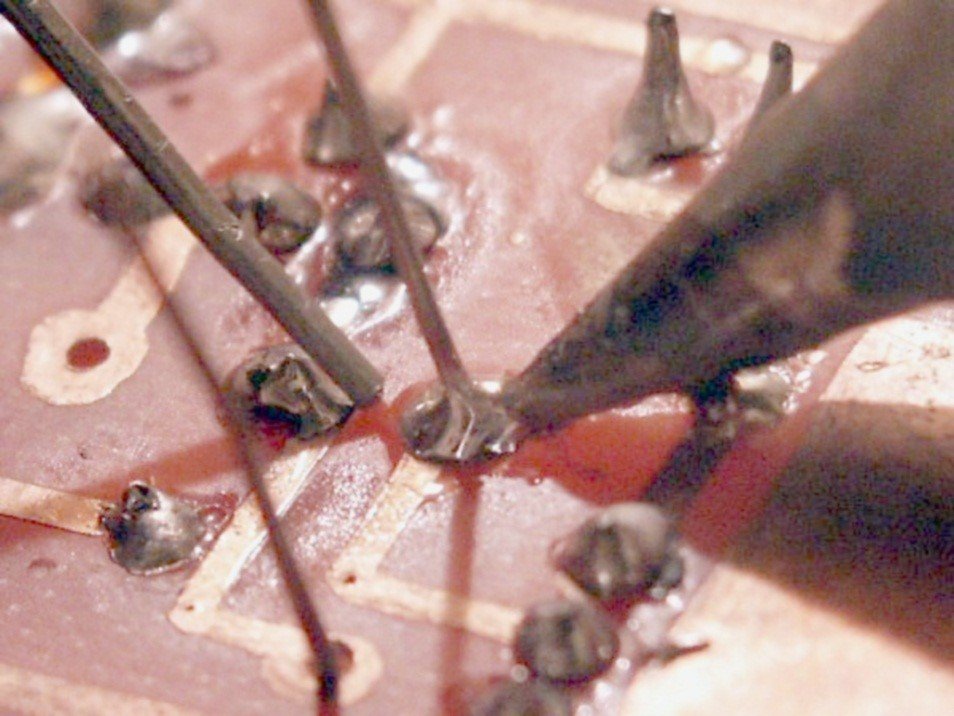
- Applying Solder to the Joint: In this step, you have to apply the solder on the designed joint. Make sure that the job is smooth.

- Inspection and Cleanup: The next step is inspecting the soldered area. In case there is unwanted solder residue present on the board then you need to clean it at this stage.
- Allowing Cooling Time: Give some time to the Printed Circuit Board to cool down before using it in your devices.